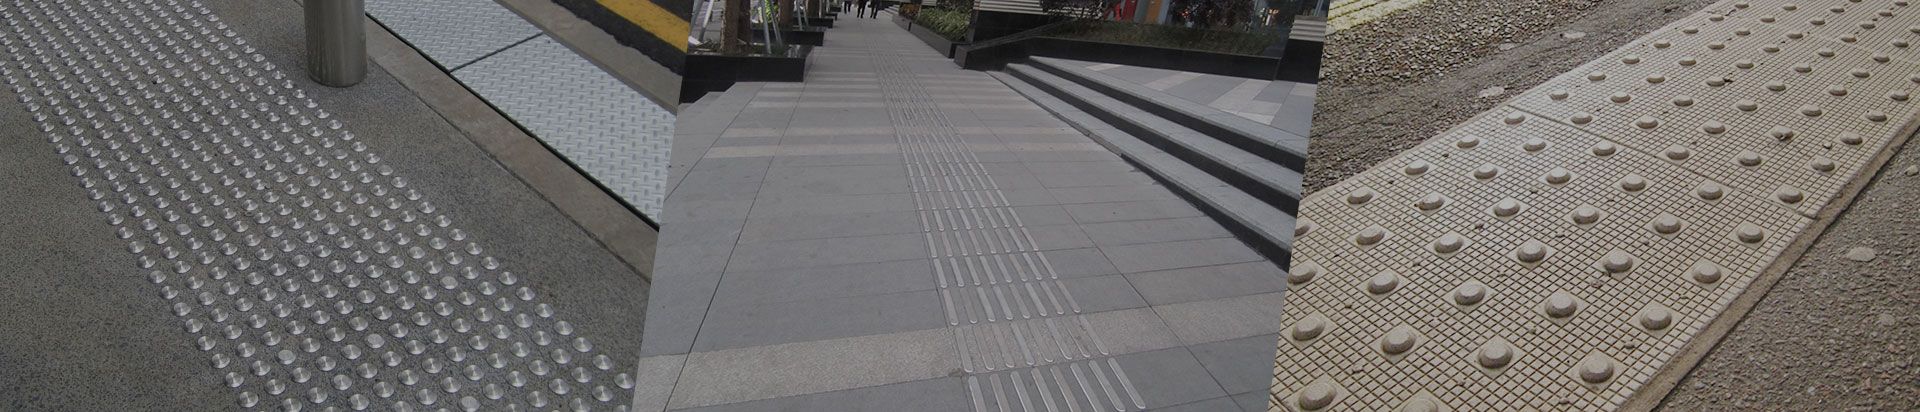
LATEST NEWS


Selection and Installation of Non-slip Stair Edge Nosing
I believe everyone has had slipping or even falling when going upstairs in rainy and snowy weather. This is because the stairs do not have the installation of non-slip stair edge nosing. Today we will introduce the selection and installation information of non-slip stair edge nosing.
The non-slip stair edge nosing can not only prevent us from sliding up and down the stairs, but also protect the step angle of the stairs. The non-slip stair edge nosings are generally a little higher than the stair countertop, generally 2~3cm is the best height. Specific estimates should be based on the actual situation of the stairs.
In order to avoid the illusion when going up and down the stairs, the height of the anti-skid strips on each step of the stairs should be kept the same, and the length and height should be the same. If it must be changed, it should be controlled within 2~3cm.
The length of the non-slip stair edge nosing is generally calculated as the length of the meter by the distance between the two ends of the stairs minus 3cm. The anti-skid strip at the front edge of the stairs is usually pulled through. For example, if the step length is 1 meter, the non-slip stair edge nosing is also 1 meter, unless there are other obstructions on both sides of the step.
Generally, the two sides of the stairs of the family are about 15~20 cm of different color walking floor tiles, and the middle is the step. Install the anti-slip strips 3~5 cm inward from the edge of the step. Generally, two are enough. It is best to keep 3~5 cm between the non-slip stair edge nosings, which looks more coordinated.
The non-slip stair edge nosings are generally divided into three types:
(1) One is to wrap the corners, which is our common L-shape, which can protect the side of the stairs;
(2) There is another type I, this kind of non-slip stair edge nosing is fixed with screws, and the installation position is generally directly against the side of the step;
(3) The third type is the non-slip molding. Cut two seams on the stair steps and insert them directly.
LATEST NEWS
 English
  日本語
日本語  français
  Deutsch
  Español
  italiano
  русский
  português
  العربية
  ไทย
ไทย  Polska
  中文
中文